Workflows define the onboarding and authentication experiences. Use Dashboard to build and customize your Workflows. Refer to Workflows Overview to understand the core concepts behind Workflows.
Workflows are created and configured in Dashboard. In the left menu, click Flow Builder > Workflows.
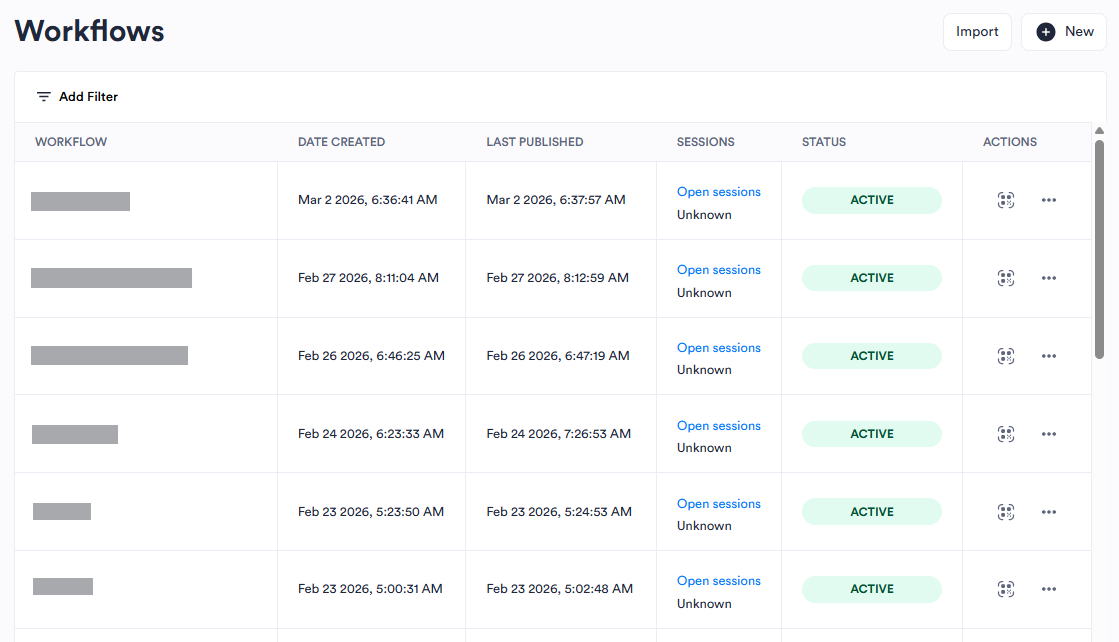
From this page, users with appropriate permissions can:
- Filter the Workflows that are shown
- Create or import new Workflows
- Click a Workflow to view or edit it
- Test a Workflow
- Pause a Workflow from use
- Copy the Workflow URL or ID
- Export the Workflow configuration
- Delete a Workflow
Filter Workflows
You can filter the list of Workflows by one or more criteria to find the Workflow you need.
In the left menu, click Flow Builder > Workflows.
Click Add Filter.
Select the type of filter you want to add.
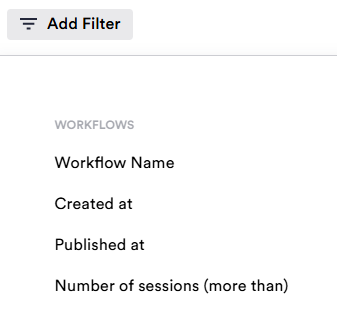
Configure the filter. Press Enter or click Apply for the filter to take effect.
Filter Instructions Workflow Name Enter the Workflow Name. Created at Click Start Date and use the calendar to select a date. Do the same for End Date. This filter does not allow selecting specific times. Published at Click Start Date and use the calendar to select a date. Do the same for End Date. This filter does not allow selecting specific times. Number of Sessions (more than) Enter a number or use the arrows to set the number of Sessions that used a Workflow. Repeat these steps to add additional filters.
Create Workflows
When you create a new Workflow, you can start with a blank canvas or choose built-in template.
In the left menu, click Flow Builder >Workflows.
Click New.
The system gives a default name to the Workflow. In the top left, click Edit to rename it. Click Save.
In the Modules panel, hover over each module for an overview of what it does and how it appears to the user.
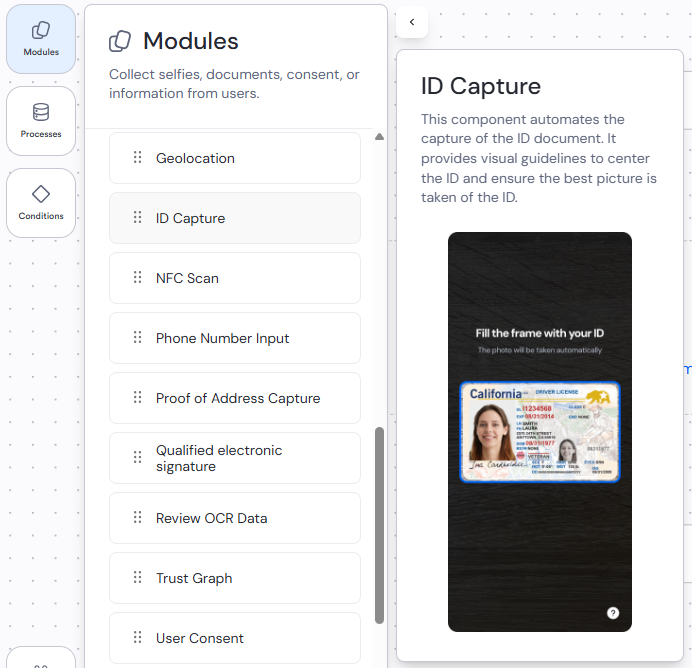
Drag modules onto the canvas to build your Workflow. You can also click Select a template on the canvas or Templates in the bottom left corner to start from a template.
After adding a module to the canvas, click the three dots > Edit to open the configuration panel. Each module has its own settings. You can leave the defaults or customize to meet your needs. Documentation for individual module settings is in progress.
Continue dragging modules to the canvas in the order you want the user to experience them. You can also hover over a connecting line and click Add to insert a node. The node types are:
Module: The parts of the onboarding process completed by the user, such as capturing selfies and documents, giving consent, or providing other information.
Process: The parts of the onboarding process that run in the back end, such as validating data, identity, and fraud signals.
Condition: Rules that determine the path of the user journey. Learn more about conditions.
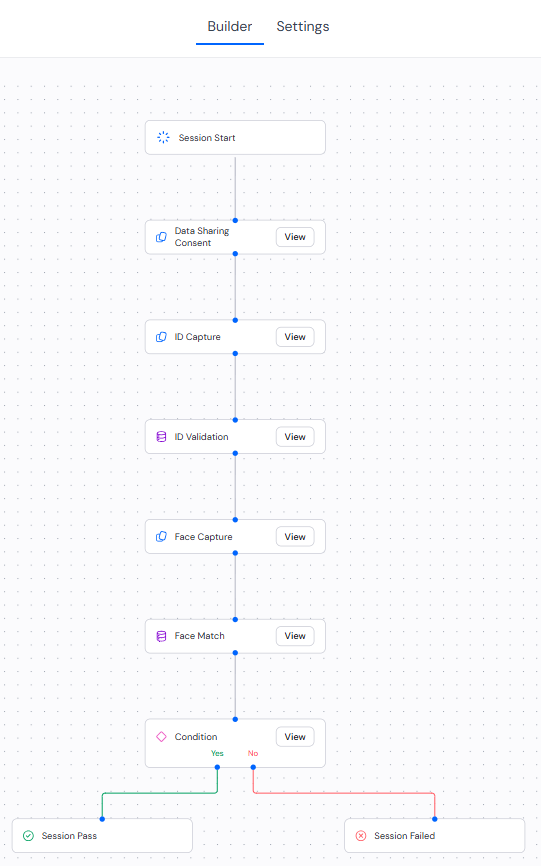
All Workflows must end with a Result node. By default, this is the final step on the canvas. To update it, click Actions and select the decision for the Workflow: Pass (default), Fail, Warn, or Manual Review. Click Update Decision.
Workflow Settings
While creating or viewing your Workflow, at the top of the page, click Settings. The default settings work for most cases, but you can customize them as needed.
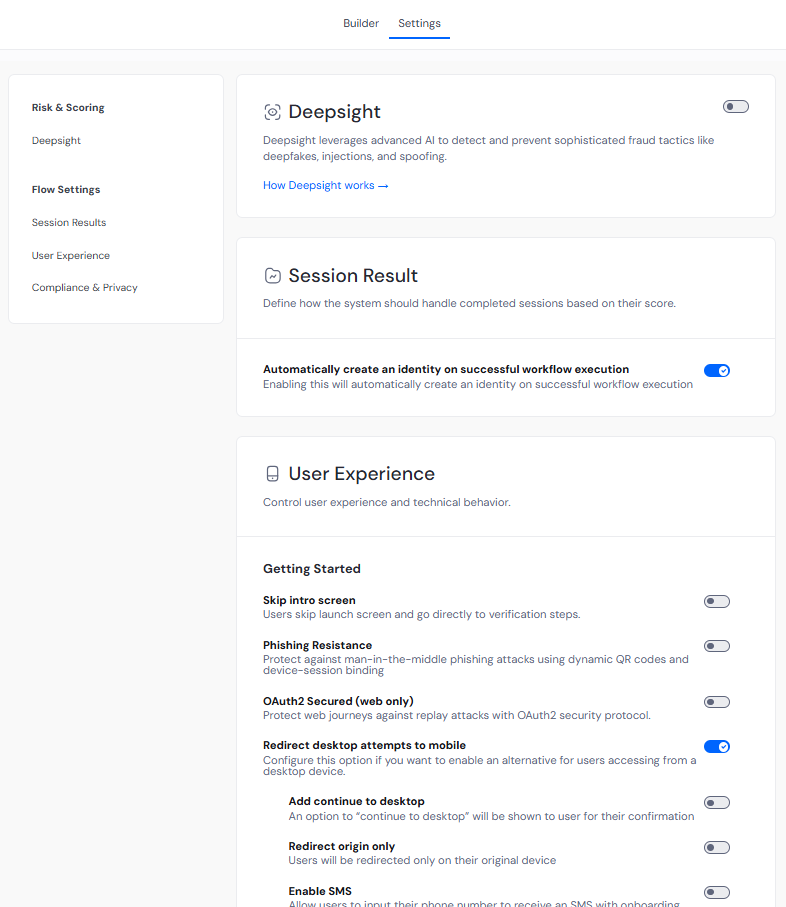
If your organization is configured with Deepsight, you can enable it for this Workflow. Separate licensing is required. Contact your Incode Representative for more information.
You can use the toggles to configure the remaining settings.
Setting Description Default Session Result Automatically create an identity on successful Workflow execution Automatically creates an Incode Identity if the Workflow is completed successfully. Off User Experience Skip intro screen Sends users directly to verification steps, skipping the launch screen. Off Phishing Resistance Protects against man-in-the-middle phishing attacks using dynamic QR codes and device-session binding. Enabling this automatically enables Redirect desktop attempts to mobile. Off OAuth2 Secured (web only) Strengthens the security of the user journey against replay attacks using OAuth2 security protocol. A Redirect URL is required when this setting is enabled. The OAuth clientid is saved in the configuration settings for future reference. Off Redirect desktop attempts to mobile Enables an alternative experience for desktop users. You can select from the following redirect options: Add continue to desktop (shows users the option to continue on desktop); Redirect origin only (redirects users only on their original device); Enable SMS (allows users to input their phone number to receive an SMS with an onboarding link). Off Hide unsupported browser screen Lets users continue with any browser. Only Chrome and Safari are officially supported. Off Allowed devices Enable to select the device type that can be used to complete the onboarding process. Select one: Mini apps (deliver a native-like onboarding without needing to install the full-sized app); Web mobile (User will go through the onboarding on their mobile phone browser. This is the default); Web desktop (Allows users to do remote onboarding using a desktop web browser; typically used for in-branch verifications). Off Redirect URL The URL users are sent to after completing onboarding through this Workflow. This field is required if OAuth2 Secured (web only) is enabled. Log session as expired after timeout Adds an expiration timestamp when a session reaches the configured limit. Enable this to monitor user behavior and completion rates around the expiration window. After 0 minutes Compliance and Privacy Age assurance Shows privacy-adjusted tutorials. Incode won't save any personally identifiable information (PII) data except date of birth. Off Enable mandatory biometric consent Presents mandatory biometric consent to users. Off Store video of ID and face capture in session Stores video of ID and Face Capture in Session. Off
When your Workflow is complete and all settings are configured, click Save & Publish.
Workflow Templates
Templates give you a starting point for the most common verification use cases. You can customize the Workflow or individual modules as needed. You can choose from the built-in template options or import your own.
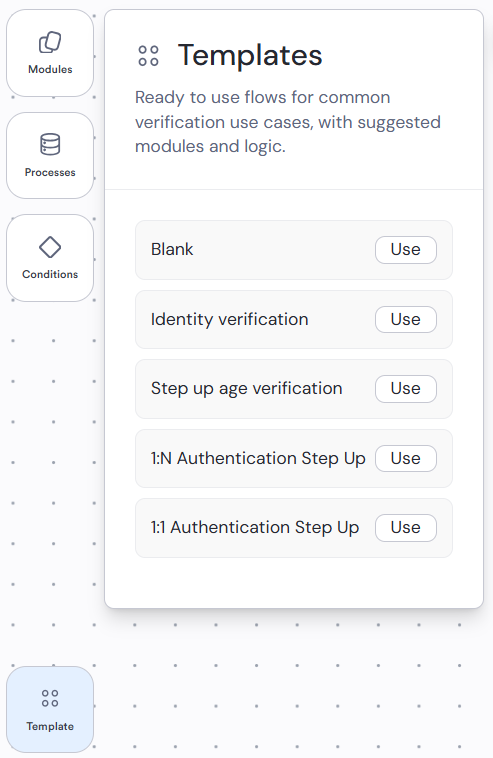
The following templates are built in:
- Identity Verification: Includes the modules and processes needed to complete a standard ID-to-Face verification.
- Step Up Age Verification: Uses Face Capture to determine the user's age. If the user's age meets the condition set, ID Capture is not required for authentication. The default age threshold is 25 or older.
- 1:N Authentication Step Up: Allows returning users to authenticate using just their face, compared against anyone's previous authentications. If authentication fails, the user is presented with an opportunity to complete ID verification.
- 1:1 Authentication Step Up: Allows returning users to authenticate using just their face, compared against their own previous authentications. If authentication fails, the user is presented with an opportunity to complete ID verification.
Import Workflows
In the left menu, click Flow Builder >Workflows.
Click Import.
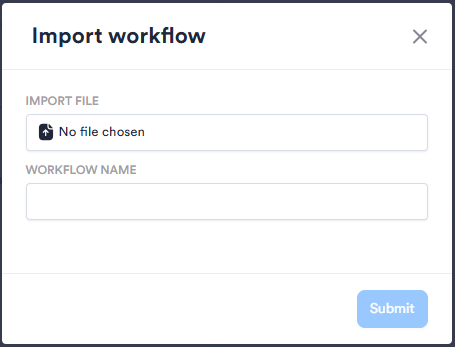
Click Import File and browse to the JSON file on your device.
Enter a Workflow Name.
Click Submit.
Test a Workflow
In the left menu, click Flow Builder > Workflows.
Browse or filter to find the Workflow you want to test.
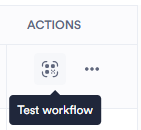
Click Test Workflow in the Actions column.
Scan the QR code with your mobile phone or copy and paste the link into a browser.
Other Workflow Actions
In the left menu, click Flow Builder > Workflows.
Browse or filter to find the Workflow you want.
Click the three dots in the Actions column.
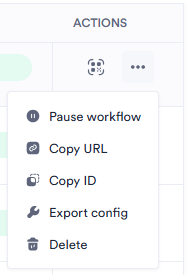
Select the action you want to perform:
- Pause Workflow: Prevents the Workflow from being used in Onboarding. Useful if you want to make edits. When a Workflow is paused, the menu shows Activate Workflow instead.
- Copy URL: Copies the URL needed to start the Workflow.
- Copy ID: Copies the unique identifier for the Workflow.
- Export Config: Downloads a JSON file of the Workflow configuration.
- Delete: Permanently deletes the Workflow. This cannot be undone. In the confirmation dialog, click Confirm.